A formation describes the starting structure. Your roles, instructions and transitions determine what that structure becomes during the match.
Reviewed against sources available on 11 November 2026. Game status, player snapshots and screenshot versions are separate; see each source and image caption.
4-2-3-1: a link behind the striker
A 4-2-3-1 gives you a player between midfield and the main striker, with wide attacking options on either side. As a football structure, it can offer a clear route from the deeper midfield pair to the attacking line. The important question is whether that pair can cover the spaces left when other players advance.
Do not assume the two deeper players have identical jobs. Decide how you want possession to move forward and who remains available when an attack breaks down. If both full-backs and both midfielders leave their positions at the same time, the formation label alone will not protect the centre. Use match observations to identify the actual locations of your players.
4-3-3: build around midfield balance
A 4-3-3 with a deeper midfielder offers a reference point in front of the centre-backs. Two midfielders can then support the attack, while the wide players provide different routes towards goal. This is a structural teaching example, not a claim that a particular FM27 role combination is superior.
Inspect the relationship between the wide player, the nearest central midfielder and the full-back. They should offer useful alternatives rather than occupy the same lane without purpose. When the ball is lost, check which player can slow the opponent and which can recover into the space behind. Recruitment can then focus on the job that is actually missing.
4-4-2: support for a strike partnership
A two-striker shape gives the forward line a natural partner and can suit a direct route through the pitch. It also places responsibility on the central midfield pair and the wide players to remain connected. If the opposition creates an extra player in midfield, decide how your team will deal with that instead of simply increasing aggression everywhere.
The supplied creator preview includes a simpler direct approach in a lower-league save. Treat that as an example of adapting a plan to its context. Official material also emphasises the link between complexity and player ability. Try the board’s formations, read the structural notes and choose the one you can explain most clearly using your actual squad. The strongest lesson is to balance responsibilities before adding detail.
Compare the jobs, not just the numbers
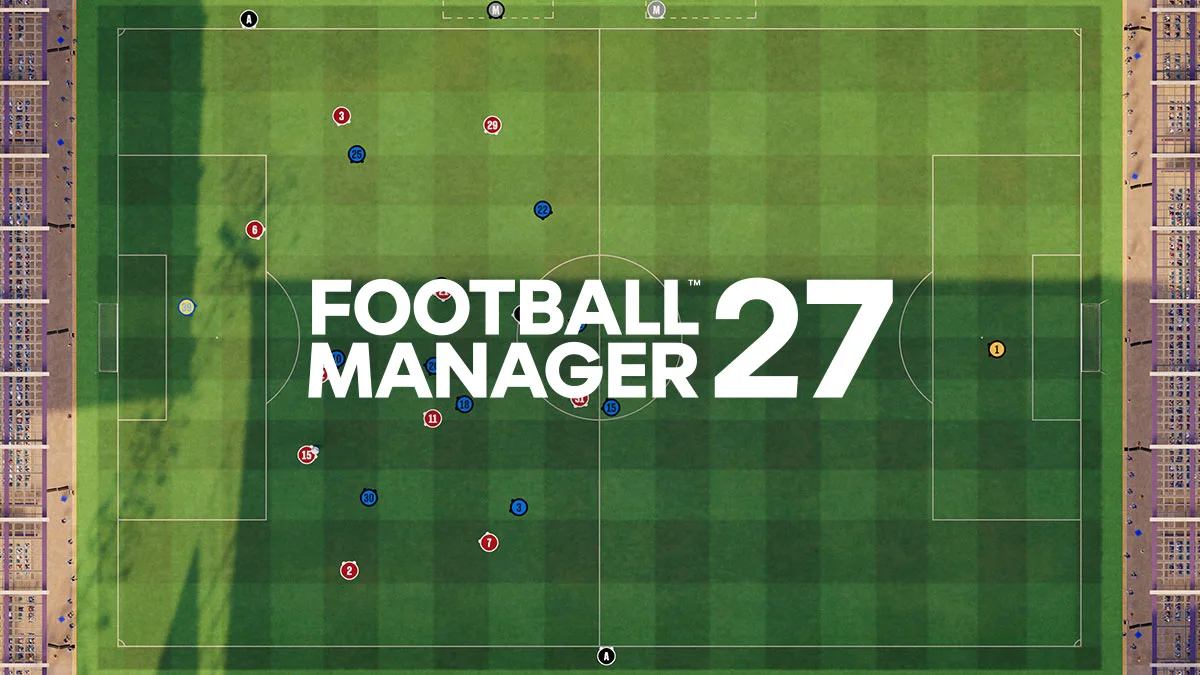
The board shows a starting structure facing up the pitch. The notes describe football responsibilities rather than a downloadable role preset. Choose responsibilities you can cover with the players in your save; the shape alone does not specify pressing height or passing risk.
| Shape | Natural connection | Common exposed space | First adjustment to consider |
|---|---|---|---|
| 4-2-3-1 | Attacking midfielder links the striker | Outside the deeper pair after both full-backs advance | Hold one full-back or midfielder |
| 4-3-3 | Midfield triangle supports progression | Beside the holder when both eights advance | Stagger the two midfield runners |
| 3-4-2-1 | Two inside creators near a striker | Behind the wing-backs | Keep a wide outlet and protect the outside centre-back |
| 4-4-2 | A forward partnership attacks first and second balls | Space around two central midfielders | Narrow the midfield connection before raising pressure |
3-4-2-1: use the outside centre-backs carefully
Three centre-backs can provide a spare player in early build-up. Two narrow creators can connect to the striker while wing-backs supply width. That advantage depends on the wing-backs receiving support and the midfield pair remaining connected. If an outside centre-back follows an opponent wide, identify who covers the channel they leave.
Check the defensive shape in a real match
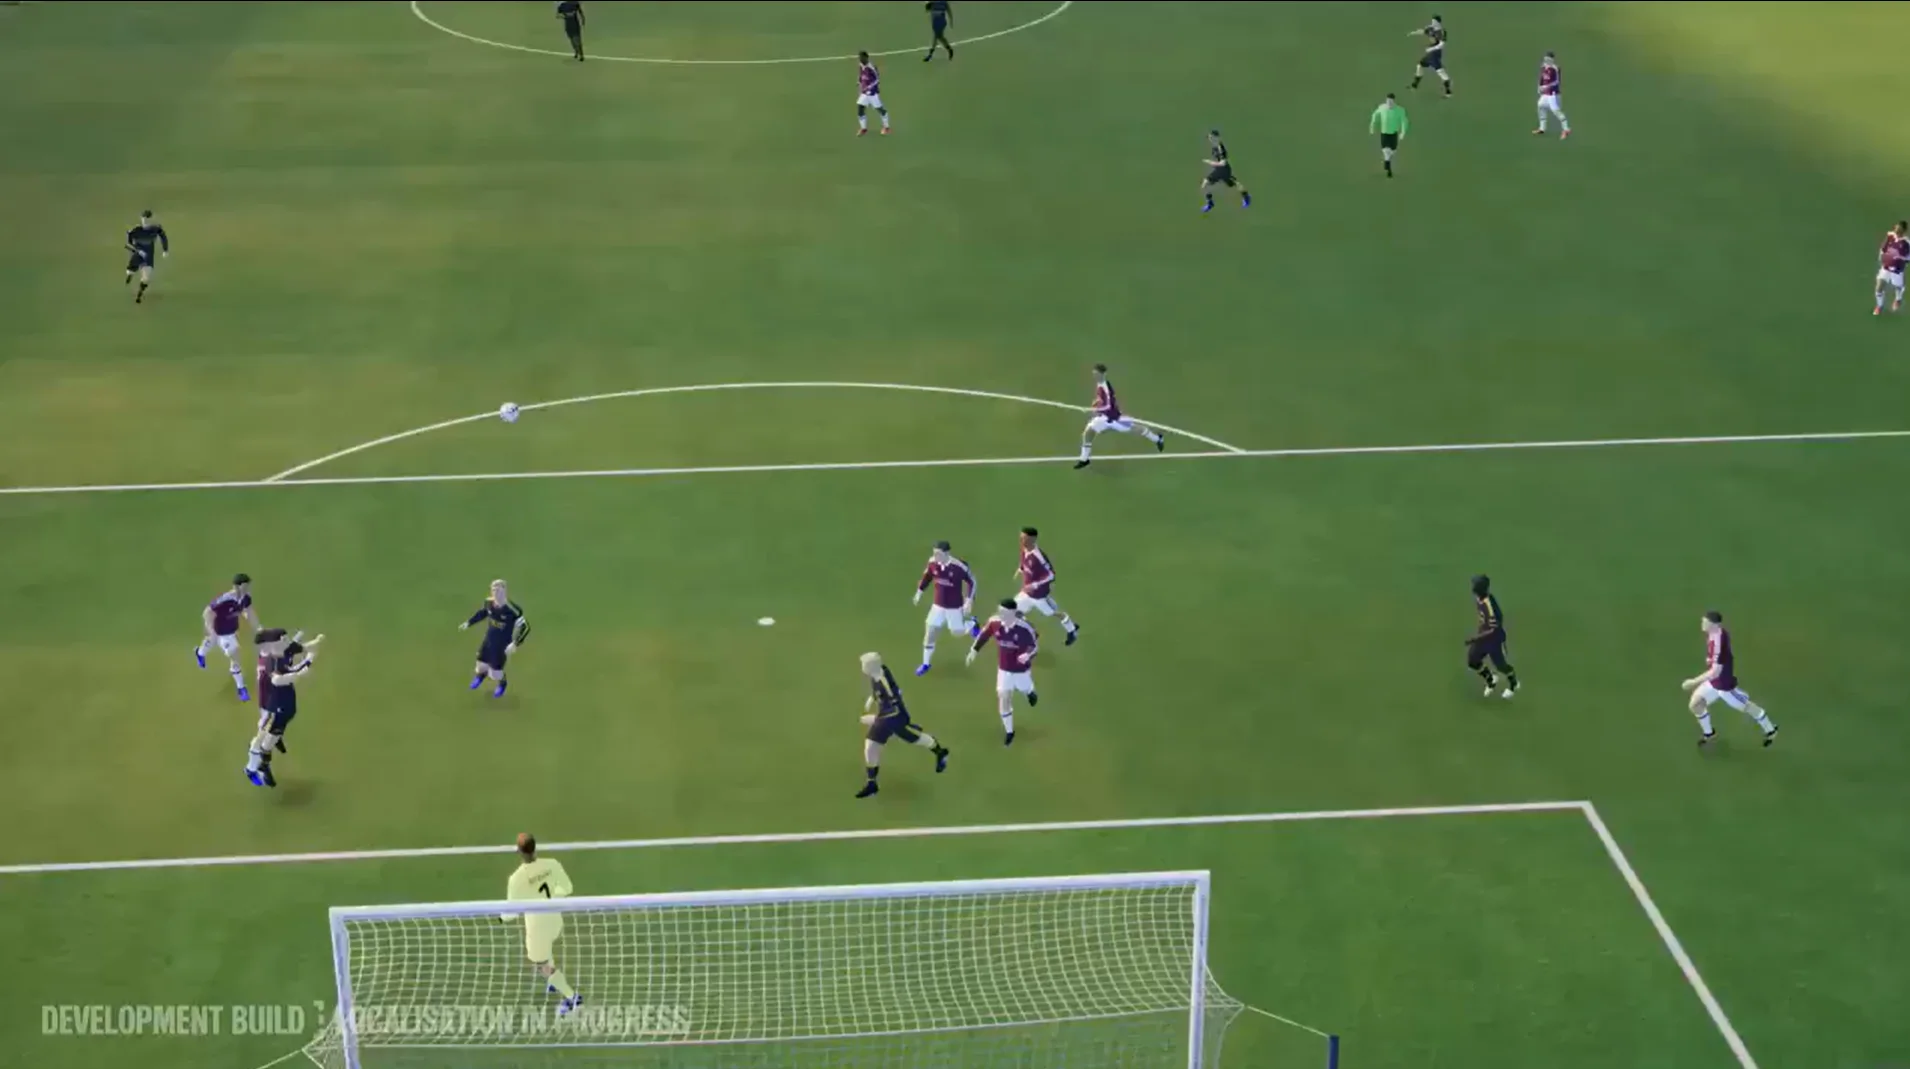
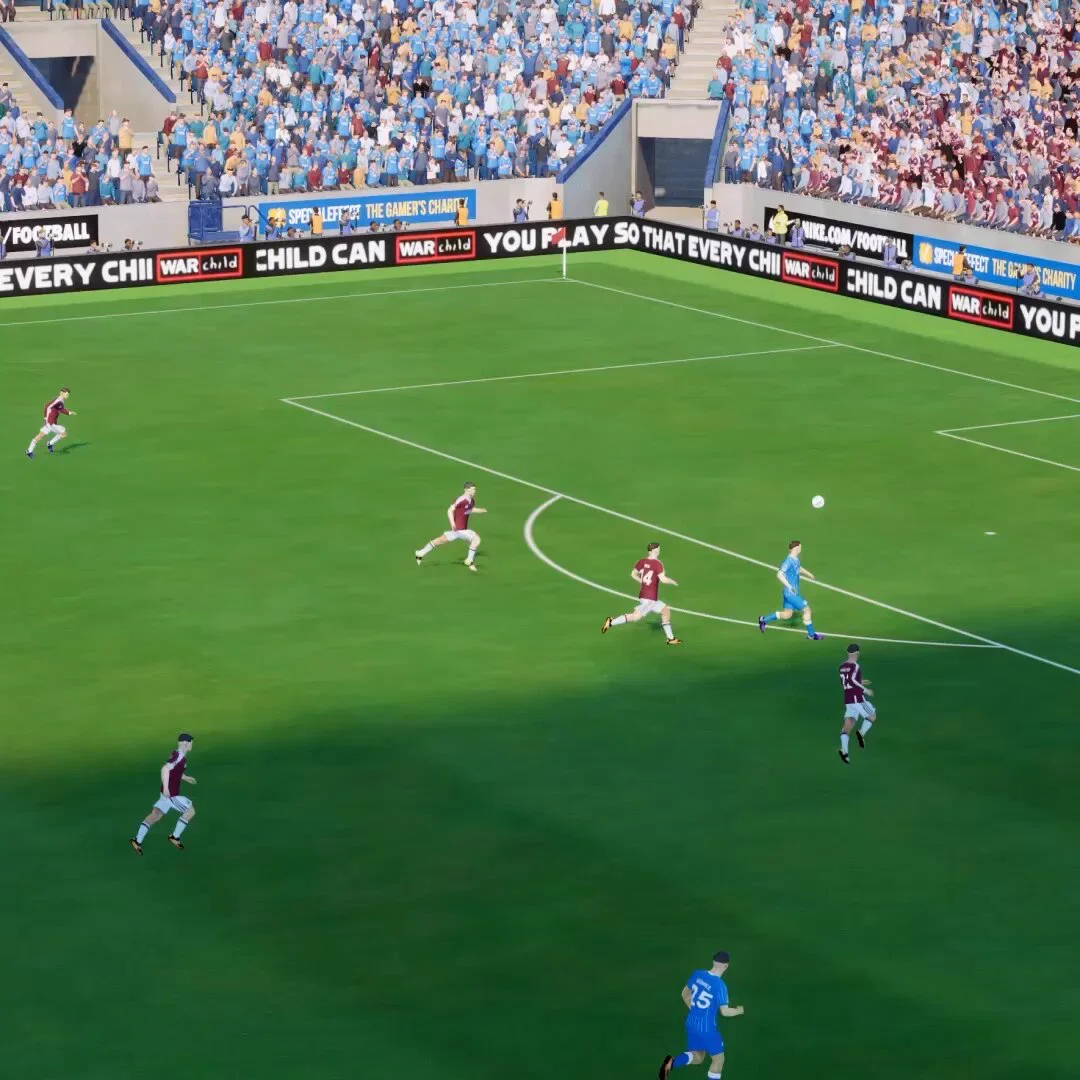
Pause after a turnover and after the opponent settles in possession. Count how many players protect the middle and who can reach the far side. A shape that looks balanced on the board may stretch when roles and instructions move players. Use the original boards to frame that check, then trust what your match view actually shows.
Release-version review: keep the blueprint and evidence separate
These formation and decision examples remain editorial blueprints, not release-version match tests. Keep the current Build, team, instructions, opposition and observations with any comparison. There is no supplied controlled test establishing a winning preset or a new advantage for one of the four formations.
Read the Day 0 record for the limited launch fixes and the separately labelled later-November plan. A role-description correction does not establish changed role behaviour. Planned defensive or attacking work must not be described as already released. Revisit the affected passages only when new official notes or a documented test provide evidence.
Audit roles before adding another instruction
An editorial role worksheet for the four existing formation boards. These are responsibilities to inspect, not a new list of unverified FM27 role-menu labels.
Name the receiver and the next pass
For a 4-2-3-1, trace how the deeper pair finds the central creator and who supports the striker. For a 4-3-3, identify which midfielder connects with each wide forward and who remains available behind them.
Mark the vacancy left by movement
In a 3-4-2-1, inspect the channel behind an advancing wing-back and its connection to the outside defender. In a 4-4-2, check who protects the centre if a midfielder joins the forwards.
Check the actual player
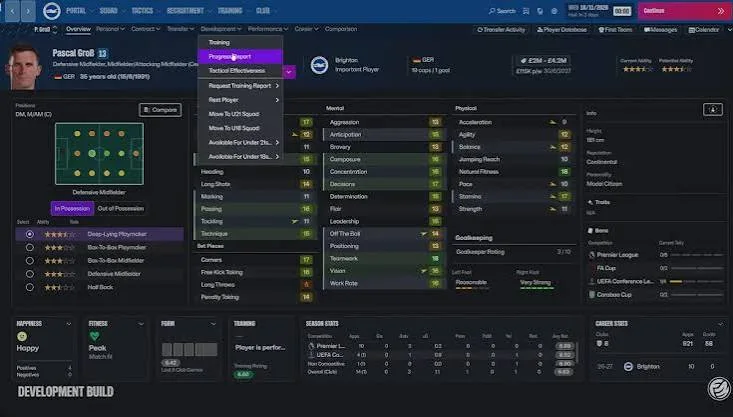
Use the relevant position group in Players, open a profile and review available attributes from the same snapshot. A position code does not prove role suitability; obtain the current report for missing or uncertain qualities.
Test the responsibility, not just the shape
Keep a note of the passing route and the recovery behaviour. If both fail, reduce one demand and inspect again. The formation name alone cannot tell you whether the players are connected.
- Avoid leaving both wide channels unprotected at the same time.
- Do not read a player’s highest displayed attribute as a complete role assessment.
- Teaching diagrams remain Not tested until actual evidence is recorded.
System source: Official Training and Tactical Effectiveness deep dive. The steps are editorial unless explicitly attributed. This review adds a workflow; it does not redate unrelated older source records.
Sources & verification
Article reviewed on 11 November 2026. Each source has its own verification date. Guidance is editorial analysis unless explicitly attributed to an official announcement.
- Official sourceTactical Tweaks and Match Engine UpgradesReviewed 1 November 2026
- Official sourceTraining and Tactical EffectivenessReviewed 1 November 2026
- Creator previewOwner-selected FM27 gameplay preview (00:26–13:34)Reviewed 28 October 2026
- Official sourceSports Interactive — FM27 is live across platformsReviewed 11 November 2026
- Official sourceSI Community Team — launch notes and first post-launch planReviewed 11 November 2026