There is no verified universal best tactic here. Match the shape to your squad, keep instructions coherent, and evaluate the chances you create and concede.
Reviewed against sources available on 11 November 2026. Game status, player snapshots and screenshot versions are separate; see each source and image caption.
A starting point, not an exploit
The best tactic for your save depends on the players available, the opponent and the game version. We have not run controlled FM27 tactic testing, so this guide does not rank downloadable presets or promise a win rate. Instead, use a familiar shape as a starting hypothesis: can the players carry out its jobs without exposing the same space repeatedly?
In the owner-provided preview, the creator demonstrates contrasting approaches, including a 4-2-3-1, a more direct two-striker shape and a possession-oriented system. Those examples are observations from an early build and individual saves. They support trying more than one style; they do not establish which formation will dominate the finished game.
Fit the demands to the squad
The official training deep dive describes Tactical Complexity as a measure affected by positions and instructions. A more detailed plan asks more of the players and may take longer to learn. Before increasing the press, passing risk or movement, consider whether the squad can meet those demands across a full match and a crowded fixture list.
For a simple first review, identify who protects central space, who provides width and who supports the striker. Then inspect whether those responsibilities remain covered when possession is lost. The interactive pitch below compares broad positional shapes only. Player roles and team instructions can create very different behaviour from the same starting formation.
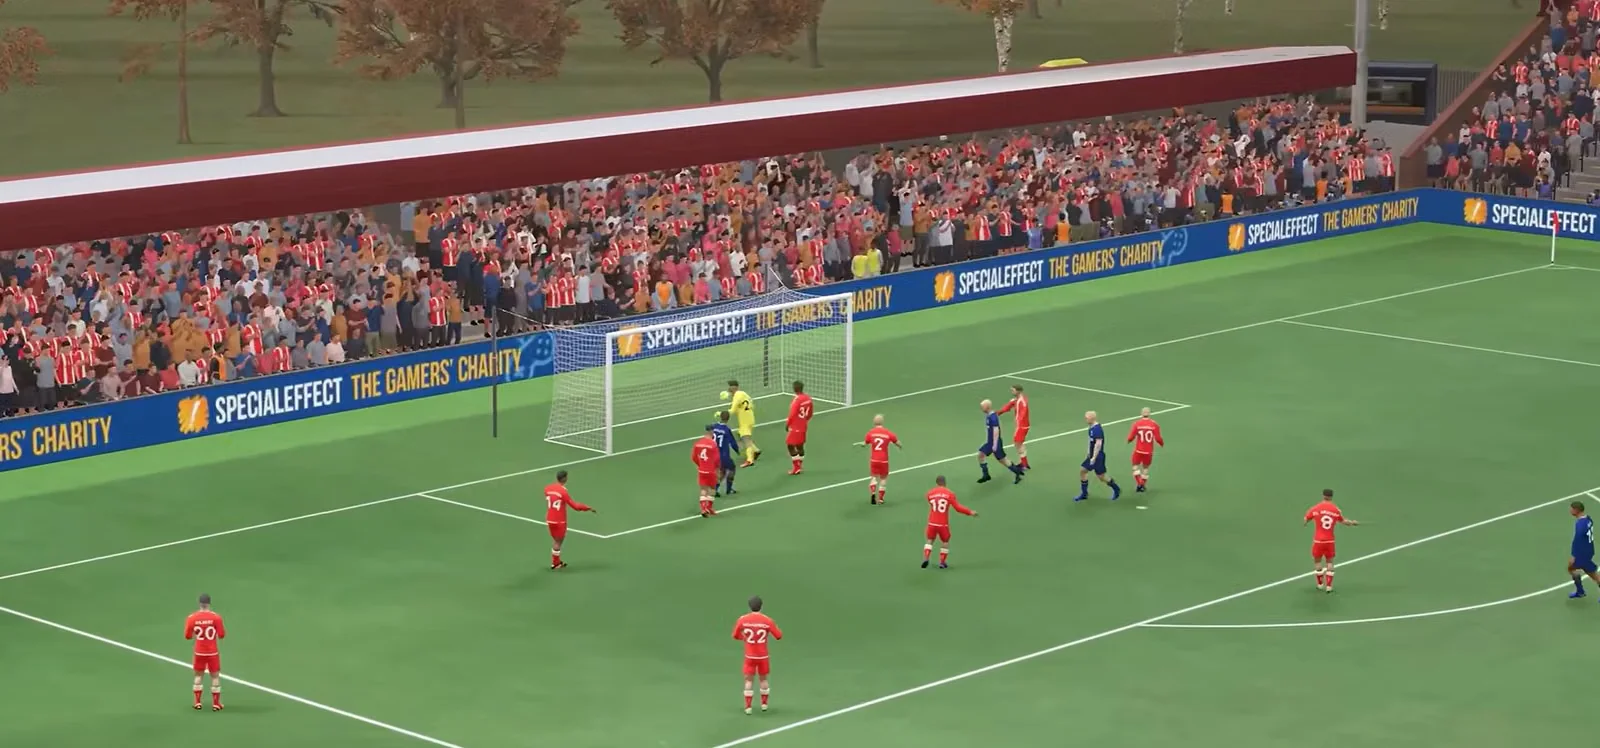
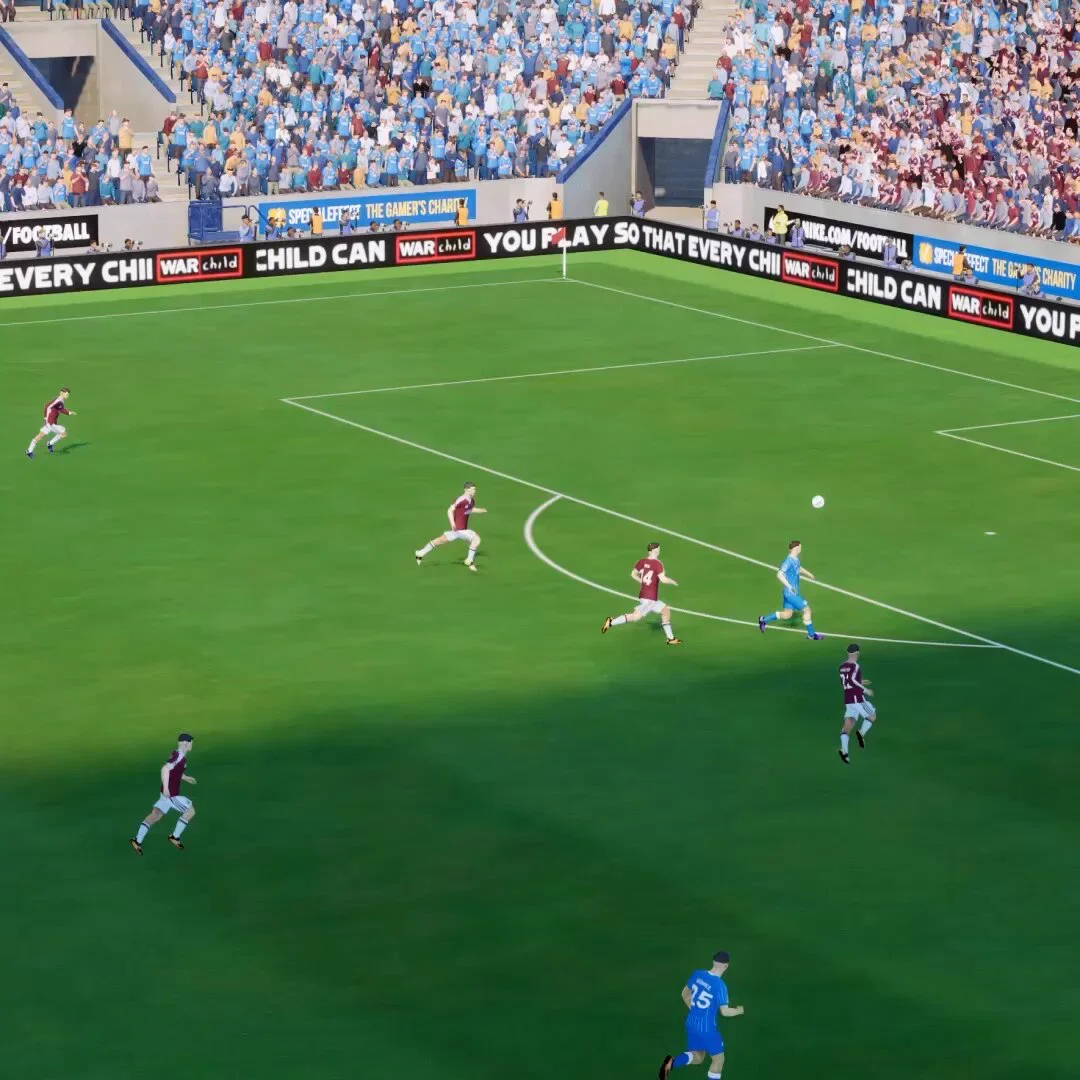
Match scene for observing space around the box; no tactic performance is inferred.
Owner-supplied image · capture/build not independently verified · © Respective game and image rights holders. · Visually reviewed 2026-11-02Judge the pattern behind the score
Use several matches and the context around them to evaluate a change. Look at shot quality, where chances originate and whether dangerous turnovers repeat. A single heavy defeat or comfortable win can be misleading if an early dismissal or an unusual finishing performance shaped it. Keep your original setup available so you can compare decisions rather than relying on memory.
FM27 introduces Tactical Tweaks that group adjustments during matches. Read what a tweak changes, watch the match after applying it and remove it if the problem has passed. A temporary response to an opponent need not become your permanent identity. Our training guide explains how preparation supports the plan, while the tactical systems guide separates a formation from the wider playing style.
Choose a starting plan from your squad
The table compares starting demands; the steps work through a 4-2-3-1 example for a squad that can fill them. These are coaching choices to test, not a downloadable preset or a set of mandatory game-menu selections. Use your actual report and visible controls when translating the plan into your save.
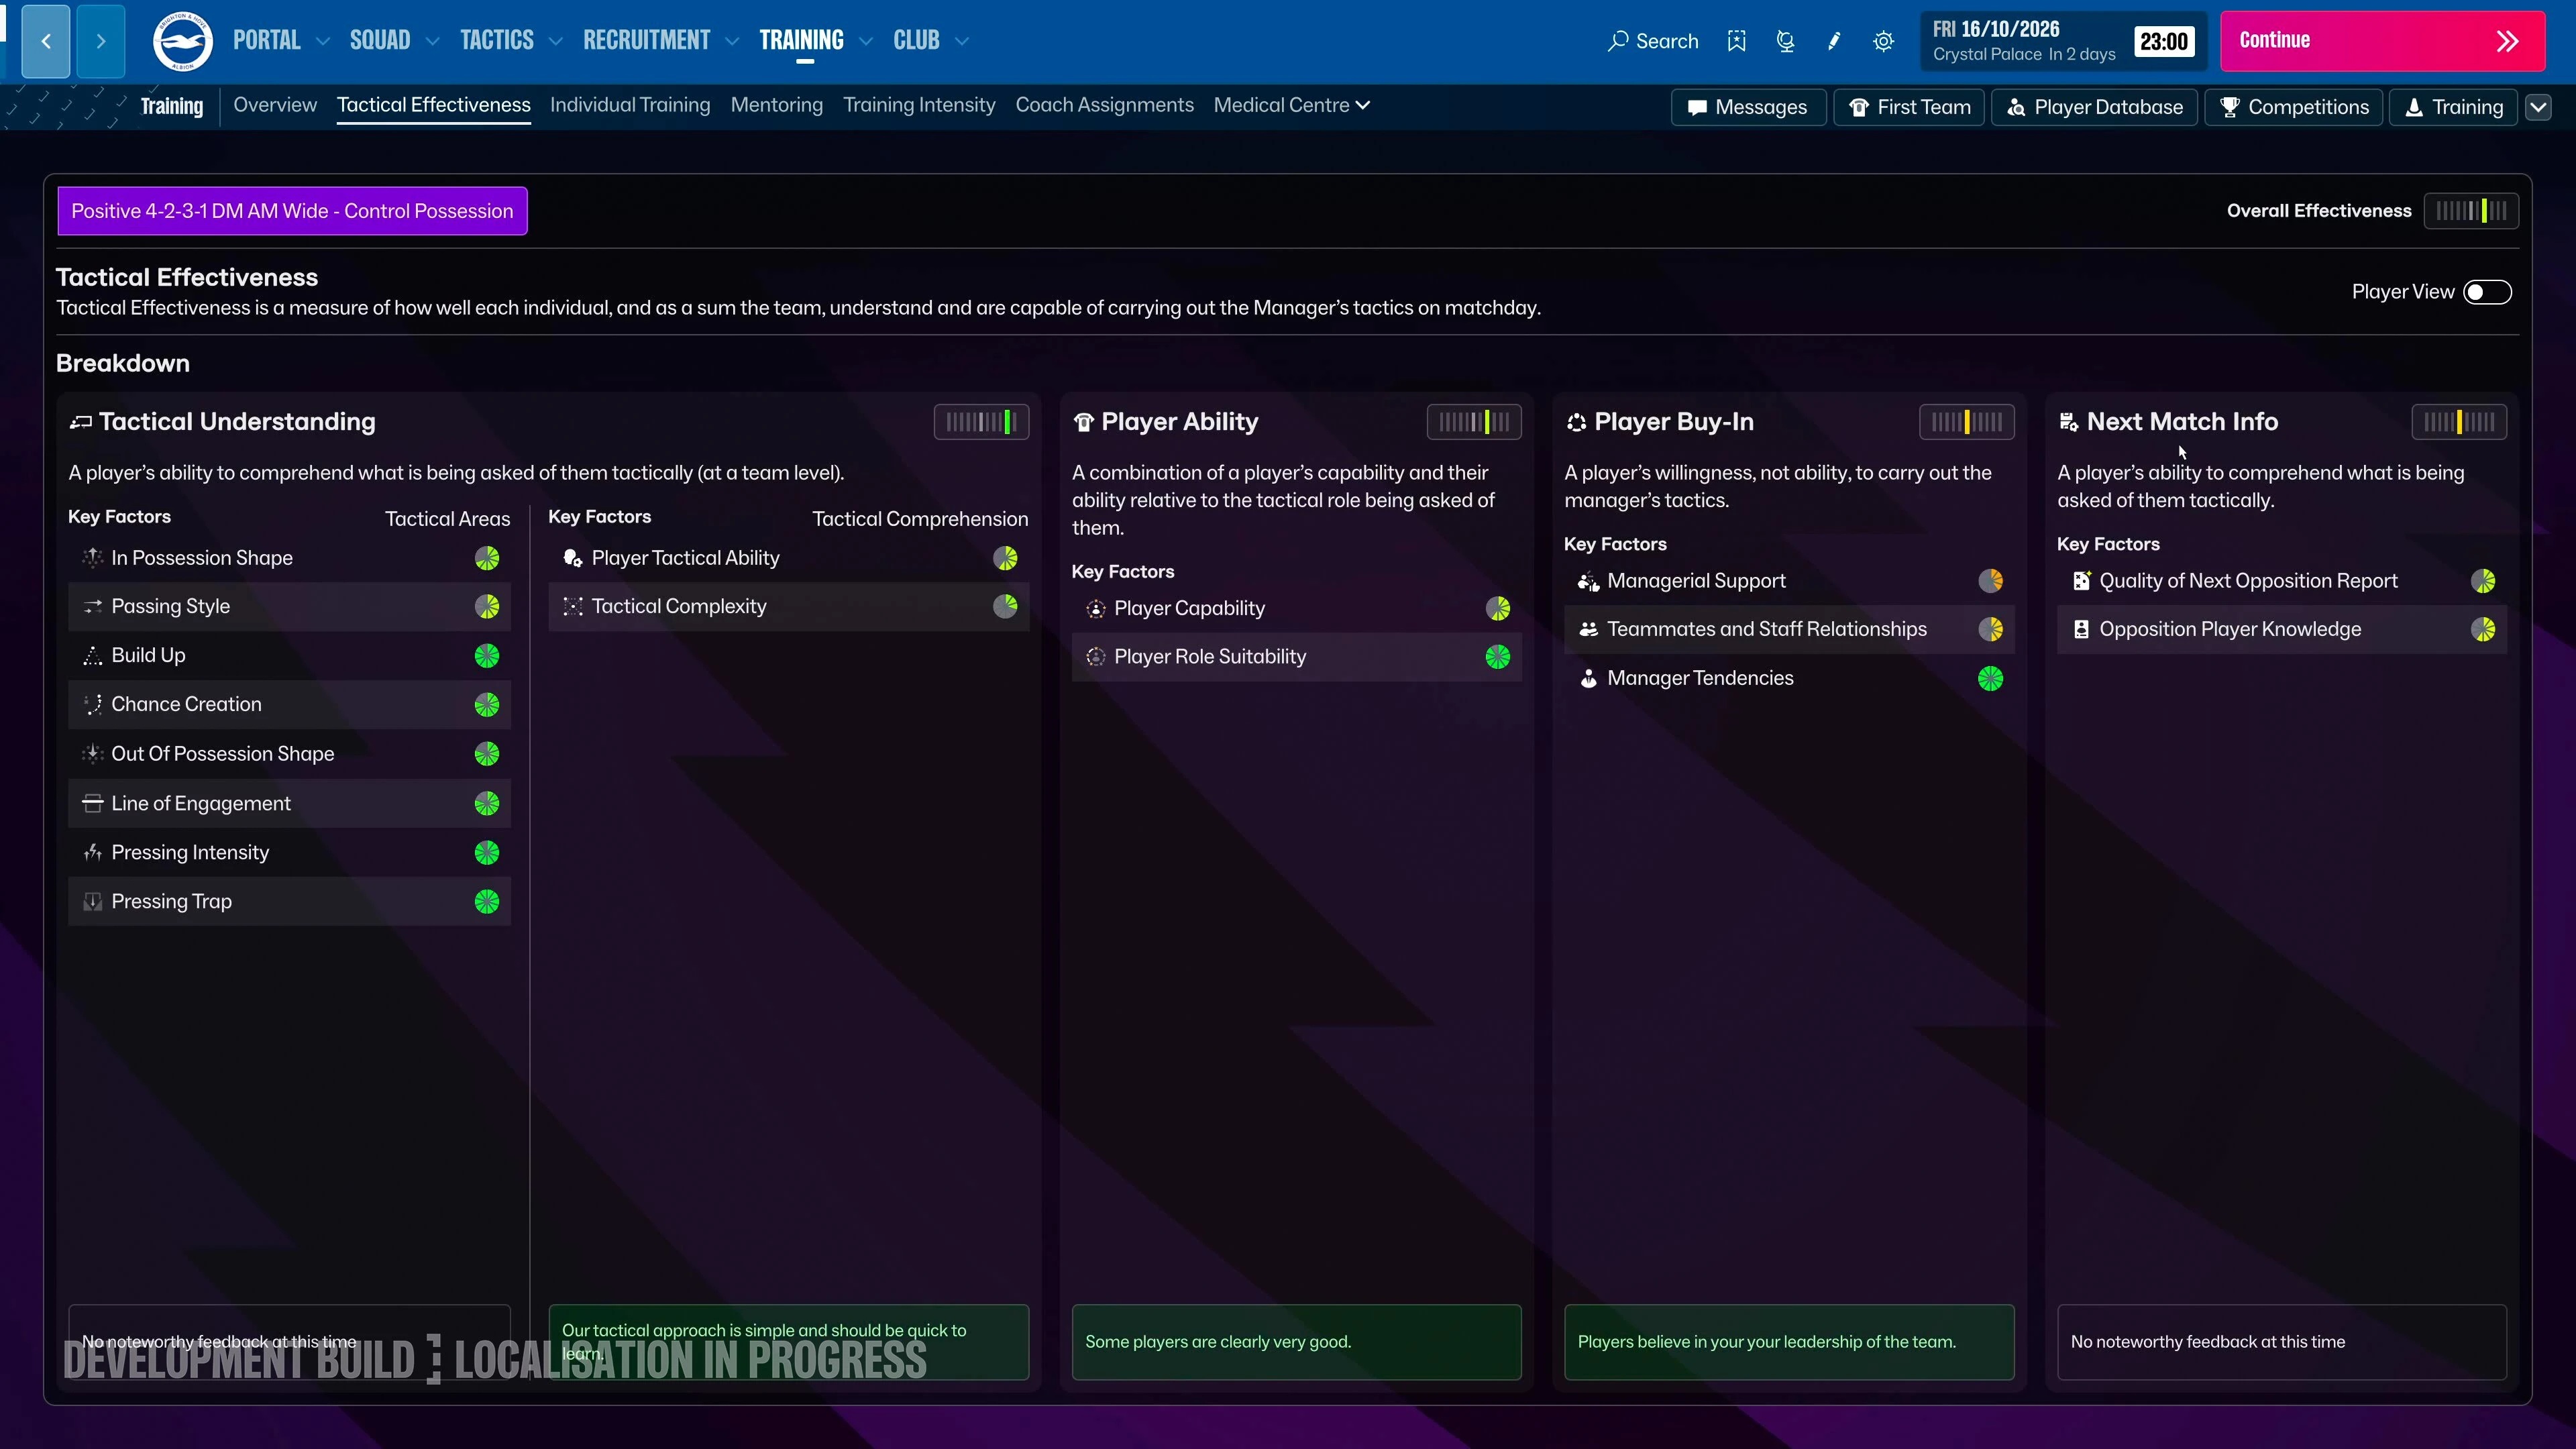
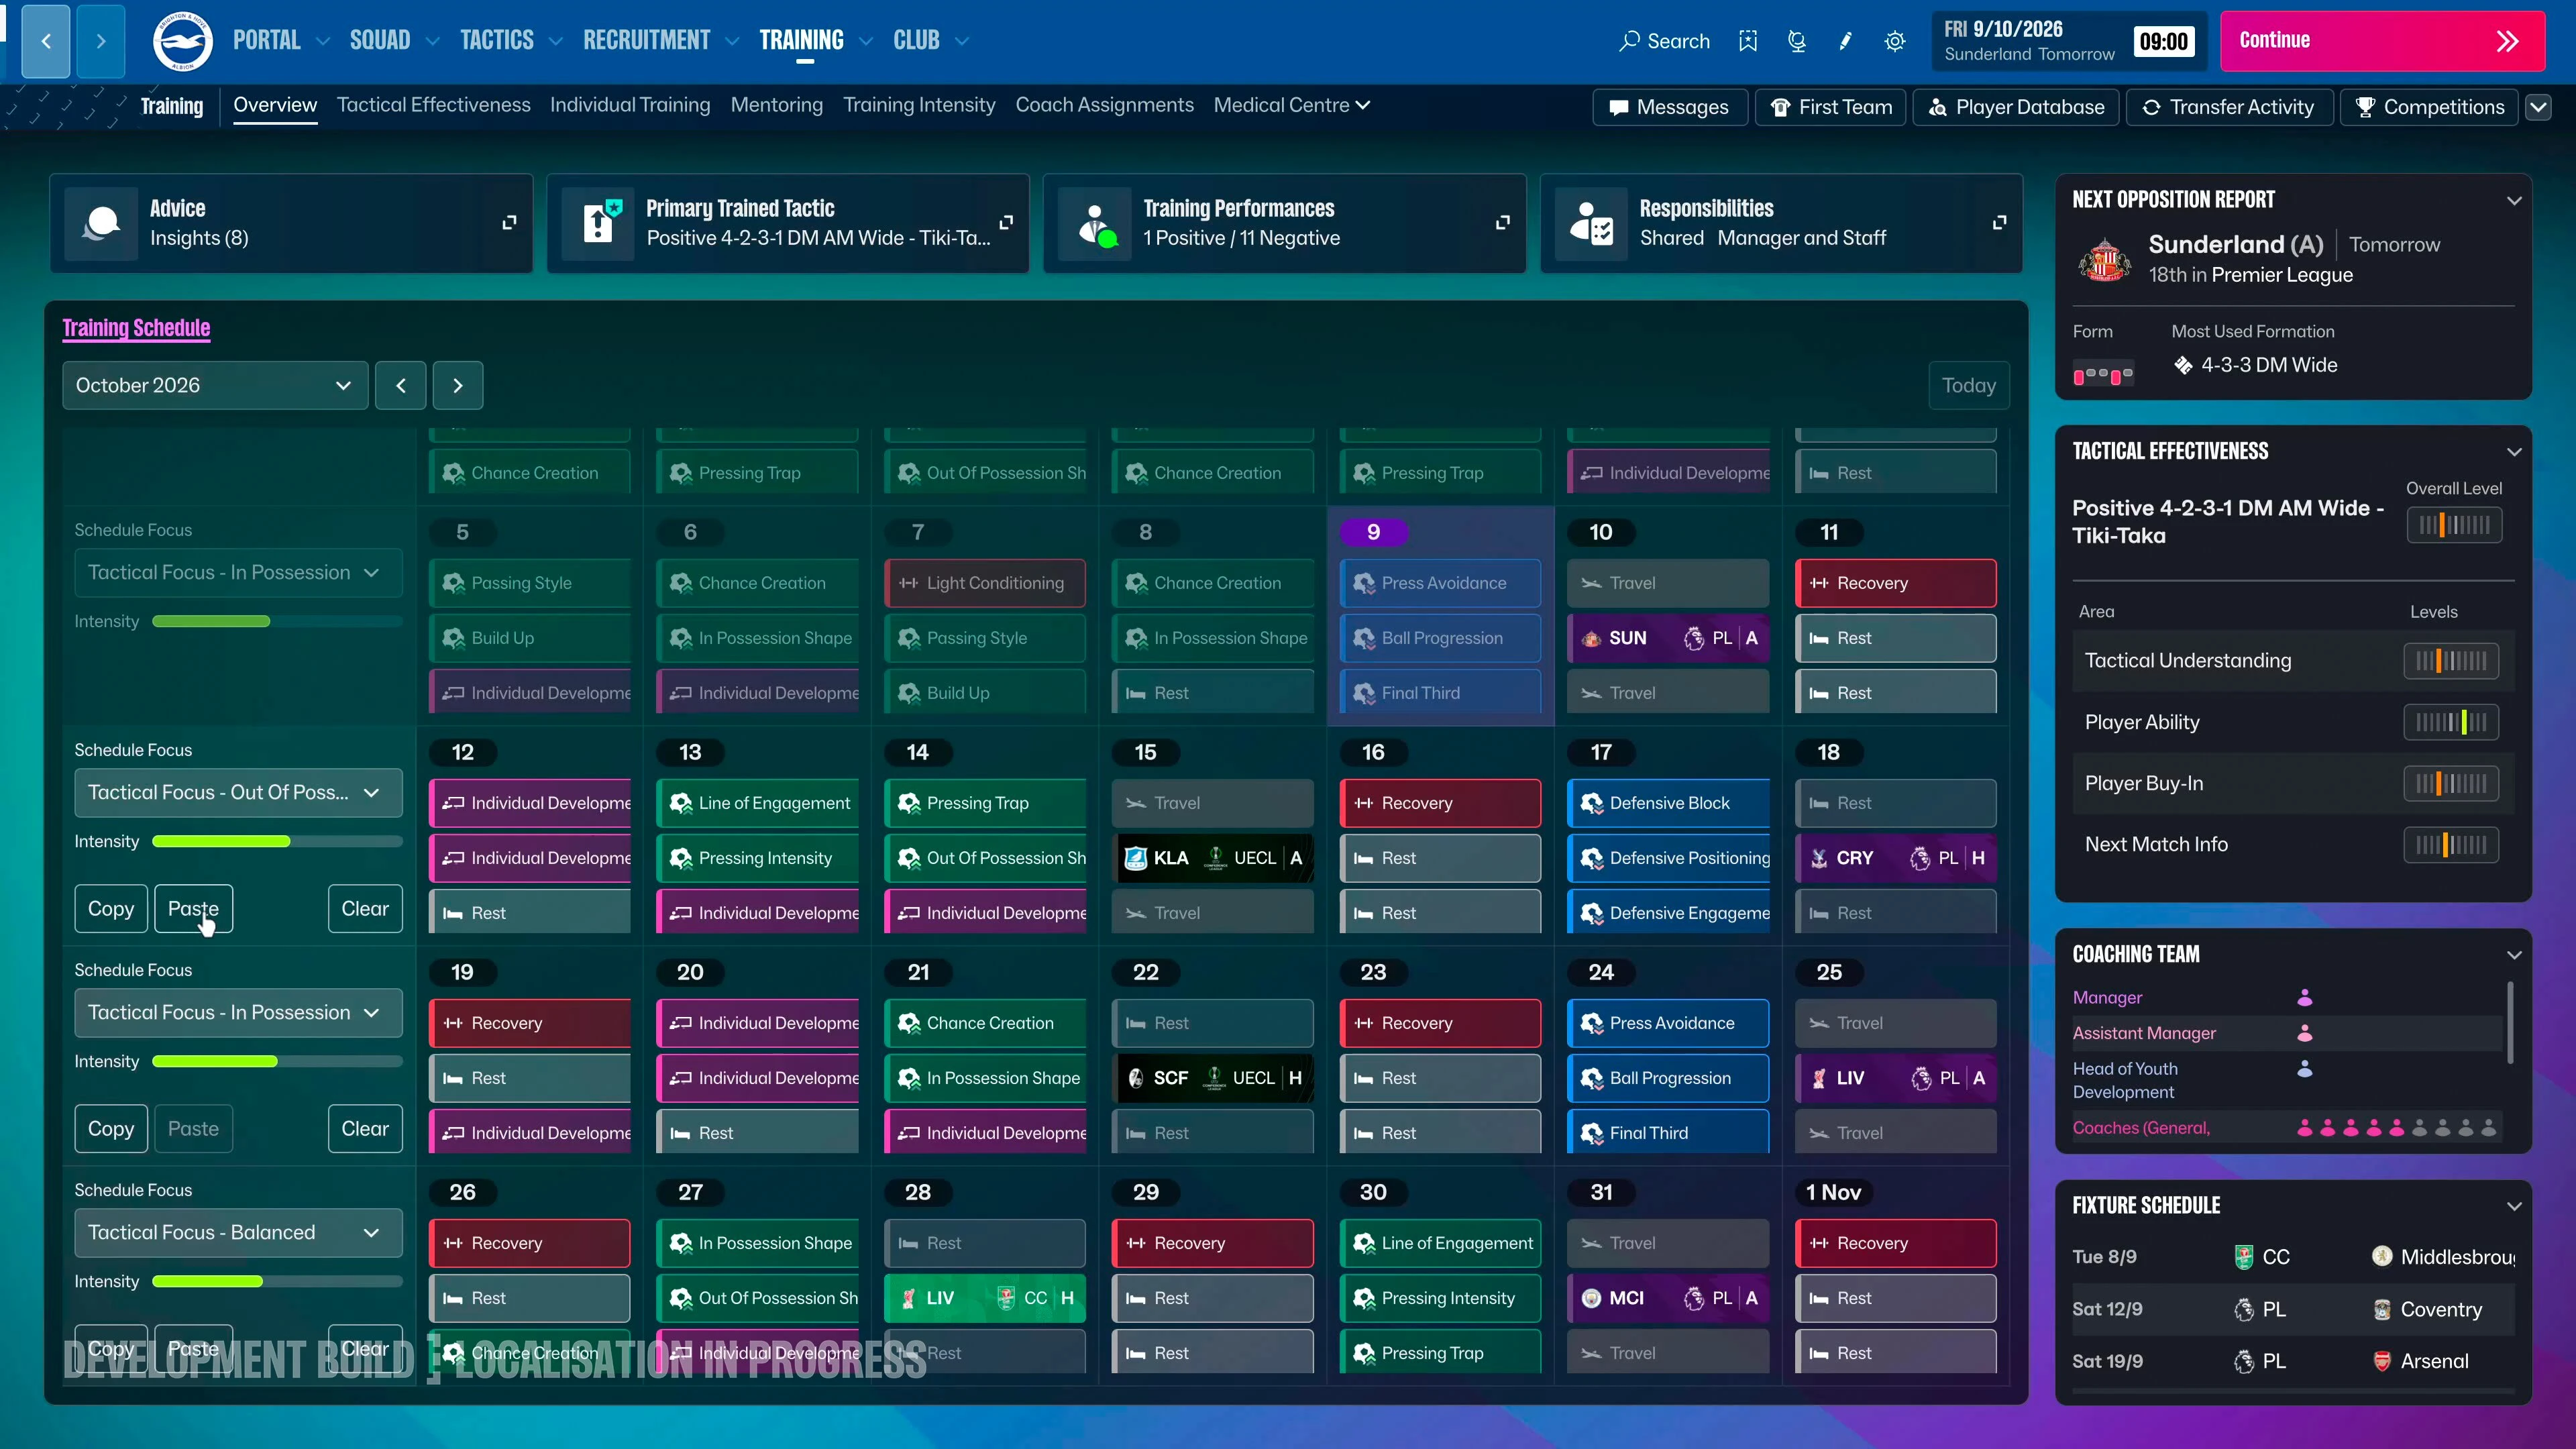
Check which tactic the breakdown describes before comparing its four areas. The example gauge is qualitative feedback, not a measured success rate for the 4-2-3-1.
Official development screenshot · localisation in progress · © Sports Interactive / SEGA. Publisher source · View full-size original · Checked 2026-11-01Start with the eleven jobs
Place four defenders, two deeper midfielders, a central creator, two wide attackers and one striker. Identify the available starter for each place; a missing holder or an unsuitable wide player is a reason to reconsider the shape before increasing its demands.
Connect each attacking movement to cover
In this example, retain a deeper midfielder behind the creator and avoid sending both wide defenders forward without support. Decide whether the wide attacker or defender supplies the outside passing option. These responsibilities matter more than adding several attractive instructions.
Check the squad against the plan
Use the game’s Tactical Effectiveness breakdown and current reports to distinguish role suitability from understanding. Keep any unsupported attribute assumptions out of your decision: this wiki’s CA/PA reference cannot establish stamina, pace or decision-making for the job.
Give preparation one relevant target
If the intended connection fails during build-up, review the corresponding preparation and passing support. Do not treat a change of weekly focus as an instant attribute upgrade. Preserve the previous setup so that the next match supplies a comparison.
Choose the next observation before kickoff
Watch how the ball reaches the central creator and who remains available when it is lost. If the opponent closes that route, inspect the wide alternative. Judge the resulting chances and counter-attacks, rather than deciding that a formation works because the first match was won.
| Squad strength | Try first | Check before increasing risk |
|---|---|---|
| A creator behind one striker | 4-2-3-1 | One deeper midfielder protects transitions |
| A reliable holding midfielder and two runners | 4-3-3 | The wide triangle does not leave the holder isolated |
| Three capable centre-backs and fit wing-backs | 3-4-2-1 | Wide players can recover after turnovers |
| Two complementary forwards and disciplined wide players | 4-4-2 | The midfield pair is not overloaded |
Run a comparison you can learn from
Save a named baseline and record formation, responsibilities, instructions and game version. Observe a small run against varied opposition. Note chance origins, dangerous turnovers, availability and dismissals. A sequence of friendly wins against weaker teams cannot establish superiority over a different plan in competitive matches.
Change the cause rather than the scoreboard
If the opponent repeatedly plays behind your attacking full-back, first check the supporting midfielder and the turnover location. Keeping one wide defender deeper may address the cause with less disruption than changing formation. If you create reasonable chances but miss them, a larger press or faster tempo has not automatically become necessary.
- For an isolated striker, inspect nearby support and passing access.
- For late defensive gaps, inspect fatigue and who still covers the centre.
- For poor understanding, reduce unnecessary instructions and plan targeted preparation.
Turn the match report into one adjustment
The official post-match image below shows a findings summary with routes into more detailed evidence. It is a starting point for investigation; the score and summary sentence do not explain every possession. The following review can be used with any of our four teaching shapes.
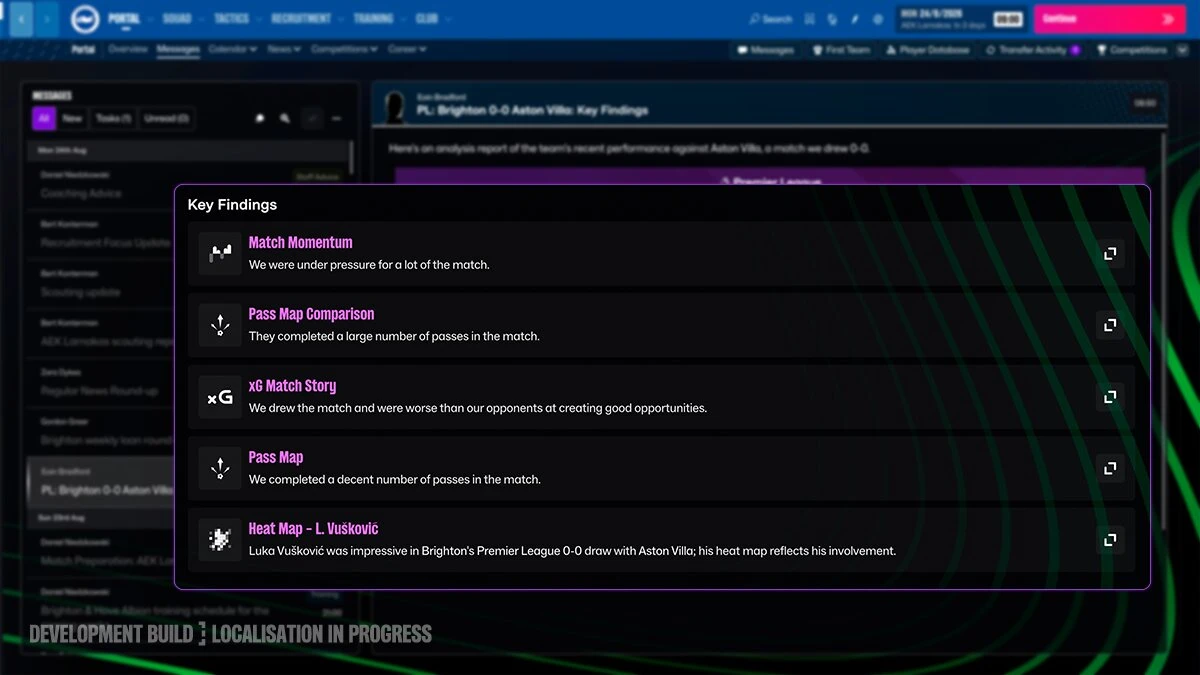
The official example highlights match momentum, passing and chance-quality findings. Open the relevant evidence in your own report before changing a responsibility.
Official development screenshot · localisation in progress · © Sports Interactive / SEGA. Publisher source · View full-size original · Checked 2026-11-01Find the repeated passage
Connect a report finding to the actual buildup, chance or turnover. Check who was available and whether a dismissal or changed lineup altered the match context.
Choose the smallest plausible response
For a missing outlet, adjust the supporting connection. For an exposed flank, review cover. For an exhausted press, review demand and available substitutions. Avoid changing all three at once.
Check both the intended benefit and its cost
Record what should improve and which space may become vulnerable. Review the same kind of passage next time, keeping the earlier setup available if the new cost outweighs the benefit.
| Shape | Observed problem | First question |
|---|---|---|
| 4-2-3-1 | Counters repeatedly bypass the creator | Which deeper midfielder is protecting the centre? |
| 4-3-3 | The holder receives without a useful next pass | Are the two midfield supports available soon enough? |
| 3-4-2-1 | Wide players cannot recover late in matches | Are the flank demand and bench cover sustainable? |
| 4-4-2 | The central pair cannot cover three opponents | Would extra central support help more than higher pressure? |
Release-version review: keep the blueprint and evidence separate
These formation and decision examples remain editorial blueprints, not release-version match tests. Keep the current Build, team, instructions, opposition and observations with any comparison. There is no supplied controlled test establishing a winning preset or a new advantage for one of the four formations.
Read the Day 0 record for the limited launch fixes and the separately labelled later-November plan. A role-description correction does not establish changed role behaviour. Planned defensive or attacking work must not be described as already released. Revisit the affected passages only when new official notes or a documented test provide evidence.
Choose a starting shape, then check the cost of each movement
Original decision example using the four teaching blueprints. No exact FM27 role dropdown, slider preset or match result is asserted; all four plans remain Not tested.
Shortlist the two shapes your available players can cover
Write a starter and a reserve for each position. A squad with two capable deeper midfielders and a central creator can investigate 4-2-3-1; one holder and two supporting midfielders can investigate 4-3-3. Select the plan whose essential jobs survive the absence of one starter, rather than forcing a player into an unsupported position.
In possession: name the receiver and the player left behind
For a 4-2-3-1 example, choose which full-back supports the winger and which deeper midfielder remains a central reset. Watch a build-up passage: can the receiver turn, or is the ball repeatedly returned under pressure? Use the formation board to identify a missing passing connection before adding more attacking movement.
In transition: inspect the same move after a loss
Pause the review at the turnover. If the supporting full-back is ahead of the ball, identify who delays the opponent in that channel and who still protects the centre. If neither job is covered, reduce one forward commitment before asking more players to close down. This is a responsibility change to investigate in the actual settings, not a claimed universal instruction.
Out of possession: check who supports the first pressure
Follow an opponent pass that bypasses your forward line. Can the wide midfielder recover and can the deeper pair stay connected to the defence? For a 4-4-2 facing a central overload, inspect the nearest forward’s support before making the entire block chase more aggressively.
Keep or reject the change using a specific observation
Record the fixture, game version, original problem, one changed responsibility and the expected trade-off. Revisit both the targeted passage and the space it might expose. Keep the baseline available, note contrary examples and read the Tactical Effectiveness breakdown before deciding whether the problem is understanding, personnel or preparation.
- Do not raise the whole team’s pressure to solve a single missing passing connection.
- Do not advance both full-backs and both deeper midfielders without identifying transition cover.
- Do not treat one favourable scoreline as proof of a preset, a player role or a win rate.
- A lower or higher Complexity reading is information about the demands, not the objective of the tactic.
System source: Official Tactical Effectiveness and Complexity explanation. The steps are editorial unless explicitly attributed. This review adds a workflow; it does not redate unrelated older source records.
See the preview in action
An owner-selected creator preview covering tactical styles, match analysis and Tactical Effectiveness. Owner-selected observations are distinct from official written sources.
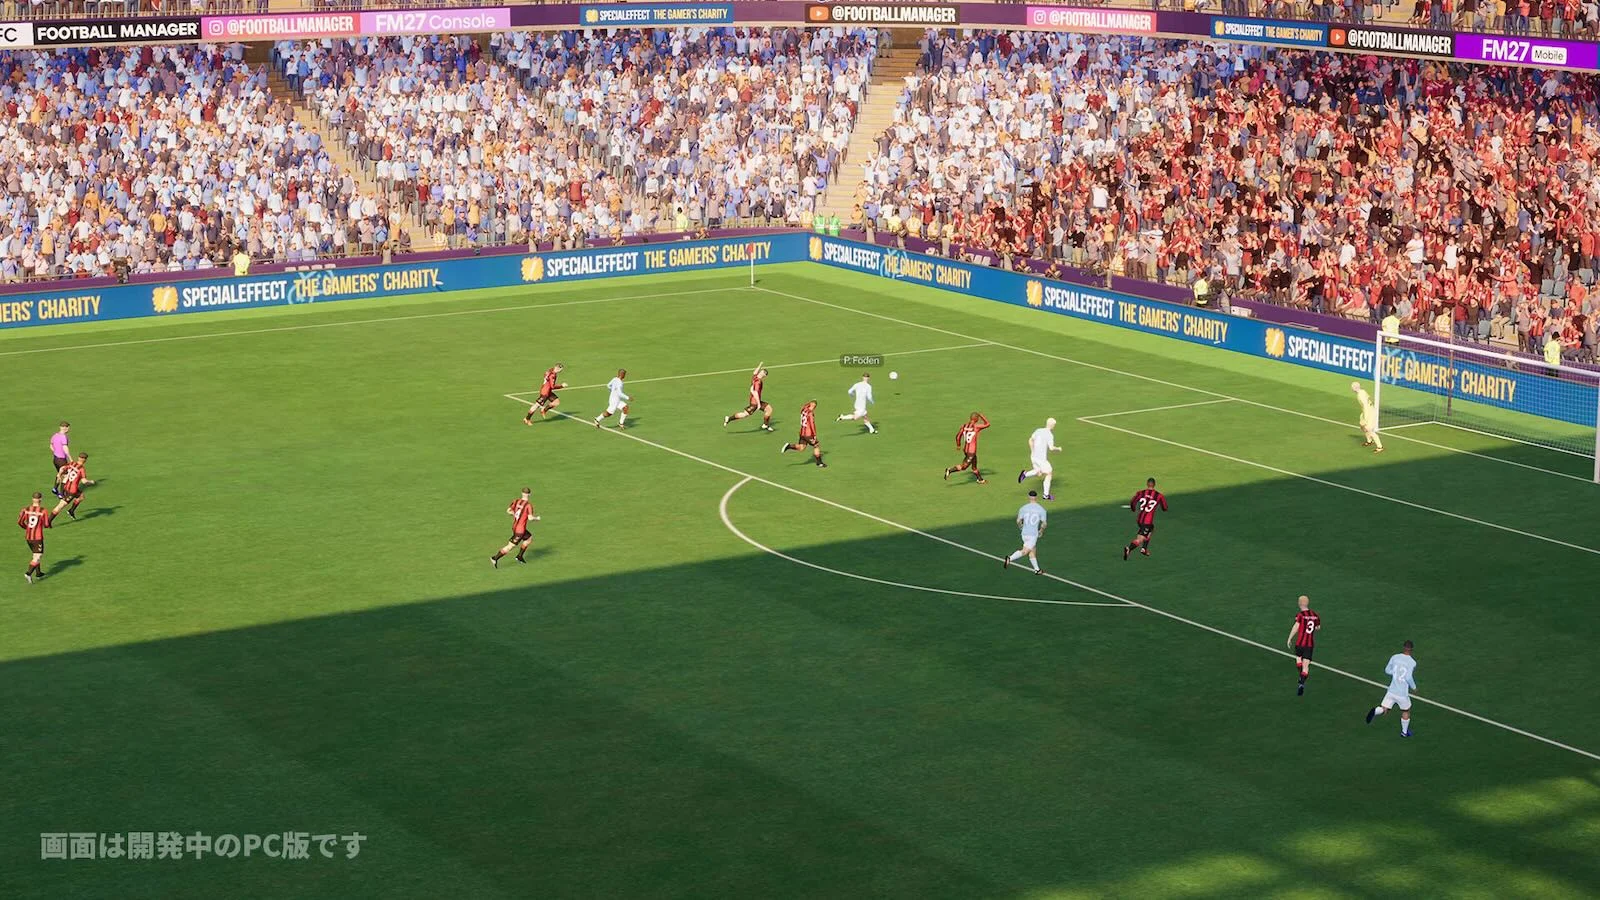
Owner-selected creator preview. Early-build observations may change. Watch on YouTubePoster: supplied game illustration, not verified as a frame from this video.
Sources & verification
Article reviewed on 11 November 2026. Each source has its own verification date. Guidance is editorial analysis unless explicitly attributed to an official announcement.
- Official sourceTactical Tweaks and Match Engine UpgradesReviewed 1 November 2026
- Official sourceTraining and Tactical EffectivenessReviewed 1 November 2026
- Creator previewOwner-selected FM27 gameplay preview (00:26–13:34)Reviewed 28 October 2026
- Official sourceOfficial FM27 development interface and feature explanationReviewed 1 November 2026
- Official sourceSports Interactive — FM27 is live across platformsReviewed 11 November 2026
- Official sourceSI Community Team — launch notes and first post-launch planReviewed 11 November 2026